


Fillers, Clay & Sculpting Putty
Fillers, Clay & Sculpting Putty
At Wonderland Models, we offer a comprehensive selection of modelling fillers, sculpting putties, and air-drying clays suitable for plastic, wood, and metal kits. Our range includes:
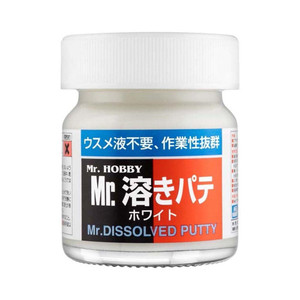
- Model fillers - for filling fine gaps between model parts.
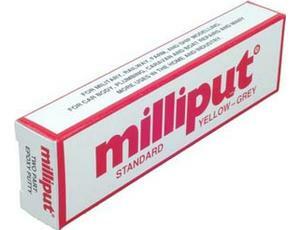
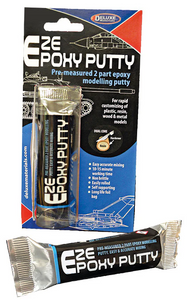
- Epoxy putties like 'green stuff' and Milliput - available in various grades, each offering unique properties for different modelling needs.
- Air-drying clay from DAS, ideal for sculpting without the need for firing.
Whether you're filling gaps, sculpting intricate details, or casting custom parts, our knowledgeable expert staff are always available to provide advice.
You can shop securely online or visit our store for personalised assistance. Express shipping is available for your convenience.
19 Products Found





- What are modelling fillers used for?
Fillers are used to fix seams, gaps and sink marks left after assembling a kit, giving a smooth surface ready for priming and painting. They’re especially useful where two plastic or resin parts don’t quite meet flush. Our Fillers, Clay & Sculpting Putty range covers everything from fine seam fillers to heavier gap-filling putties.
- How do I fill seams and gaps on a plastic kit?
Apply a small amount of filler along the seam, allow it to cure fully, then sand back gently with fine sandpaper until the join disappears into the surrounding surface. Re-scribe any panel lines lost during sanding before priming. This step makes a real difference to the finished look of aircraft and vehicle kits in particular.
- What’s the difference between filler and sculpting putty?
Filler is designed to smooth and disguise small gaps and seams, while sculpting putty is a modelling material in its own right, used to build up entirely new shapes, add texture, or create custom details from scratch. Both cure to a sandable, paintable finish. Check our Fillers, Clay & Sculpting Putty range to see which suits your project.
- Do I need epoxy putty or is filler enough?
For small seams and minor gaps, a standard filler is usually sufficient and easier to work with. Epoxy putty is better suited to larger gaps, structural repairs, or sculpting new details, as it cures harder and can be shaped before it sets. Our range includes both, so you can match the product to the size of the job.
- How long does filler take to cure before sanding?
Most fillers are workable within a few hours, though full cure times vary by product and can be several hours to overnight for a completely solid sand. Sanding too early can drag or smear the filler rather than shaping it cleanly. Always check the specific product’s guidance, as cure times differ between water-based and solvent-based fillers.
- Can I use fillers on metal and resin models as well as plastic?
Yes, most modelling fillers work across plastic, resin and metal surfaces, though very smooth metal may benefit from a light key with sandpaper first to help the filler grip. Check the product description for any material-specific guidance. This makes fillers useful across almost every kit type we stock.
- What tools do I need to apply and shape filler?
A small applicator or old brush handle works well for pressing filler into seams, followed by fine wet-and-dry sandpaper or sanding sticks to shape it once cured. Our Modelling Tools & Accessories range includes sanding sticks sized for detail work. A damp cotton bud can also help smooth filler before it fully cures.